
Following on from my post on Gear Lever Refurbishment the intention was to make some slight adjustments to the rear linkage so the lever sits in neutral properly. However, when inspecting the rods it was quite clear that all of the bellows would need replacing as they had perished as well as rust and wear on other parts.
I opted for the Gear Linkage Repair Kit from Brickwerks, this includes not only new bellows but also the bushes, gear shift joint and selector cup.
Again, I found the Club 80-90 Wiki invaluable, in particular the entries on Renovating 5 Speed Change Mechanism Pt2, Renovating 5 Speed Change Mechanism – Adjustments and Renovating 4 Speed Change Mechanism Pt3.
Diagram
The following diagram shows how the gear linkage works in operation:

The diagram is from the Transporter with Water-cooled Boxer Engine Construction and Operation VAG Self Study Programme which also includes information on the 4 speed gearbox.
Worn Parts


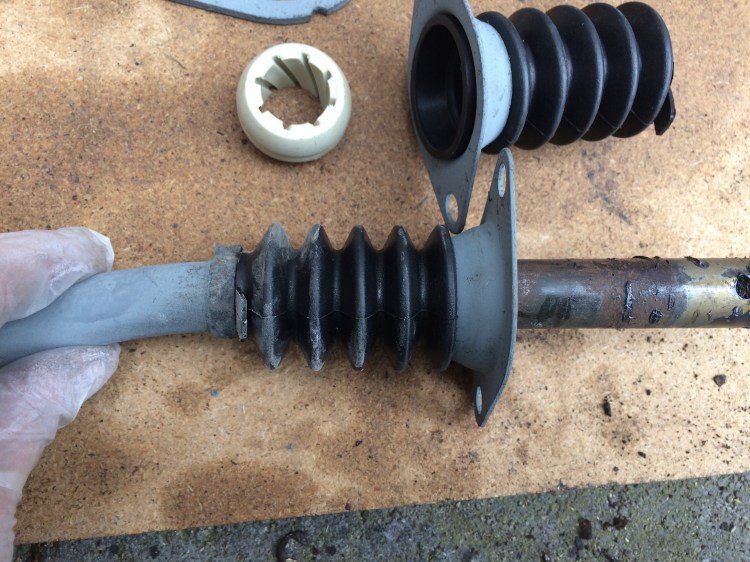
Removal
Starting from the rear, use a 13mm socket wrench to remove the bolt holding the Gear Shift Joint onto the gearbox. Next, undo the two bolts holding the Gear Linkage Support Plate in place.
The linkage will be free to drop to the floor.

Undo the bolt connecting the Gear Linkage Joint to the front linkage rod and twist/knock this free using a rubber mallet. (Normally you should mark the position of where the two pieces meet before removing so it’s easy to realign. As i’m replacing all the parts i’ve not bothered).
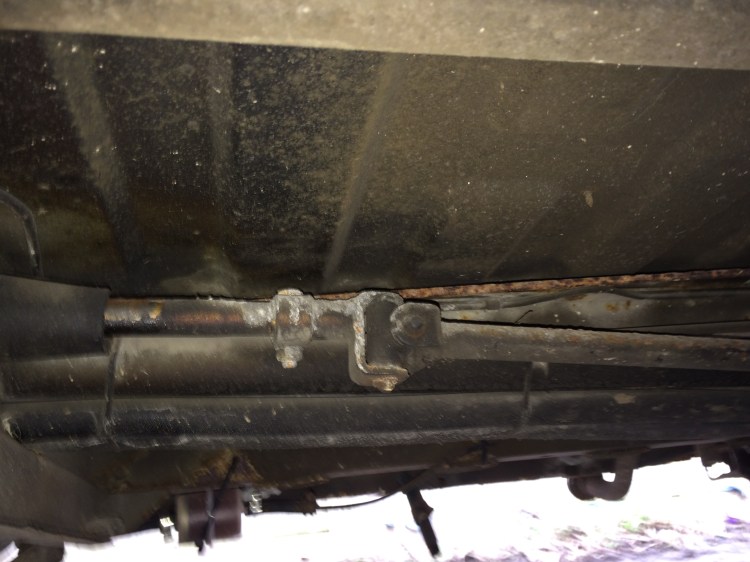
The rear linkage rod and assembly will be completely disconnected and can be put aside.
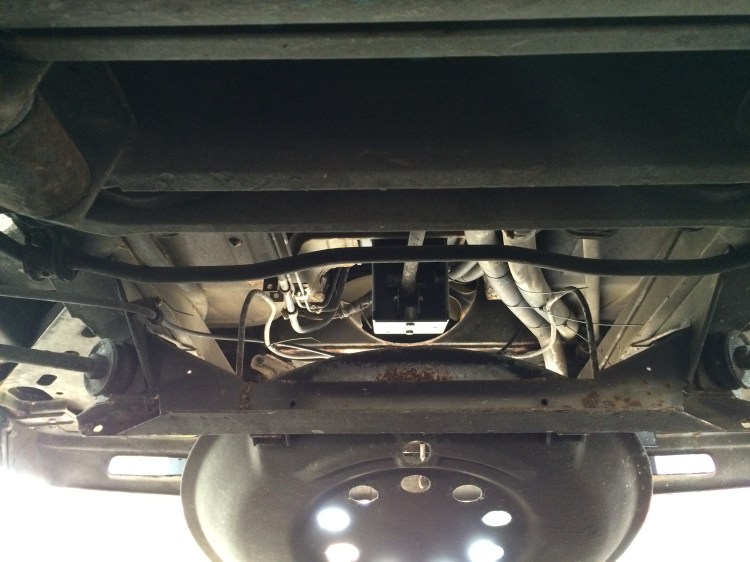
At the front of the vehicle above the spare wheel is the Gear Linkage Box. Undo the 10mm/13mm bolt here and the front linkage rod will come free, pull it forward and completely out. (You may have to remove the Gear Linkage Box as space is tight).
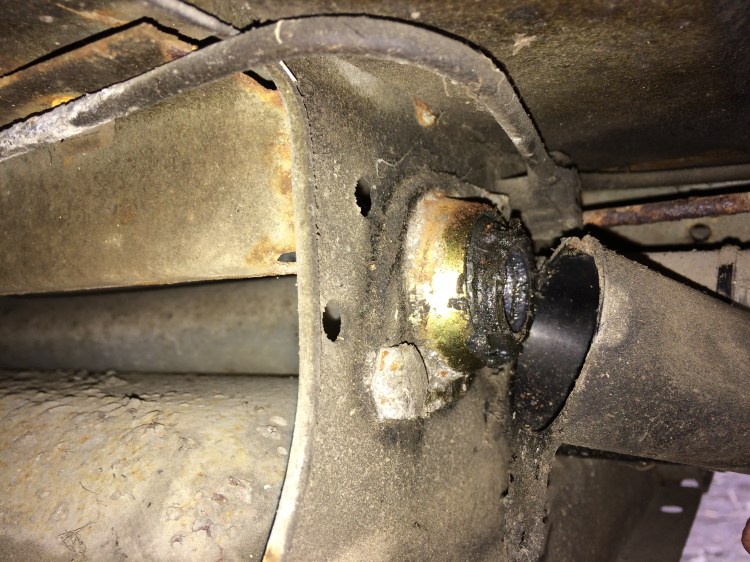
With the front linkage rod removed you can then undo the two bolts holding the central bush and flanges. (The picture below shows a plastic cover, I twisted this out of the way).
You should then have a nice collections of parts:

Dismantling
Selector Cup
The Selector Cup is attached to the rear linkage rod by a roll pin, to get this out you need to find a suitable piece of metal with a similar diameter. I used a bolt and hammered this through. (Do not use anything pointy like a screw as it will make the roll pin expand out and be impossible to remove).


There is a cap inside the cup with F19 on it, this popped out when I hammered the pin through.
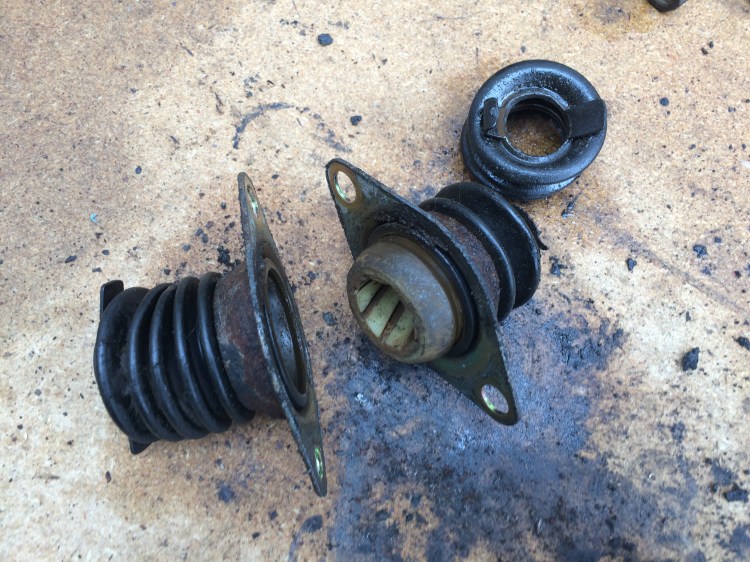
Flanges and Bush
Undo the two bolts on the Gear Linkage Support Plate and slide the Flanges and Bush free of the rod.
Gear Linkage Joint
The joint is connected to the rear linkage rod by two pins, remove the circlips and prise the pins out using a claw hammer.


The Dismantled Parts


Comparison
I thought i’d use a micrometer to see the wear on the Selector Ball rear Bush vs the new ones. Selector Ball: 0.18mm wear, rear Bush: 0.42mm wear.


Gear Linkage Repair Kit
The repair kit from Brickwerks comes with all the necessary parts for renewing the gear linkage. I added a Support Bracket to my order in case mine was knackered, it was fine so I didn’t end up using this.

Refitting
Putting everything back is a reverse of the removal procedure, with added grease!
I sprayed the rods and flanges with Bilt Hamber Electrox to add a layer of protection.
The Bellows are pushed inside the Flanges and slid on the end of the rod with the rear Bush inbetween, add lots of moly grease.
IMPORTANT!
Both Flanges go onto the rod BEFORE the Support Bracket. I made the terrible mistake of putting the Bracket BETWEEN the Flanges. This is wrong and will mean dismantling everything again. Get this right before driving the pin into the Selector Cup.
The following images show the bracket in between the Flanges, it wasn’t until I fitted the whole lot under the van that I realised.
Slide the Selector Cup onto the end of the rod (make sure you’ve got it the right way up) and hammer the roll pin down to secure it in place.

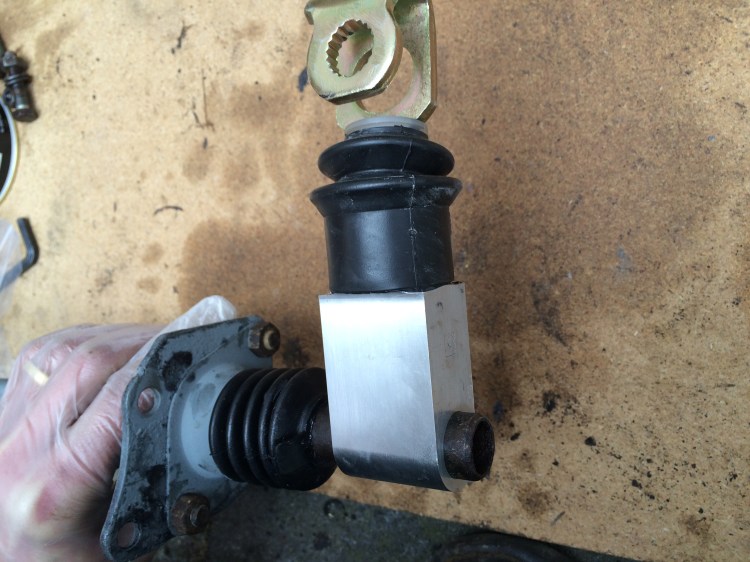
I warmed the Relay Lever Boot in hot water to soften it up before sliding over both sections. (Moly grease was added inside the cup).


Reconnect the rods in the reverse order from removal.
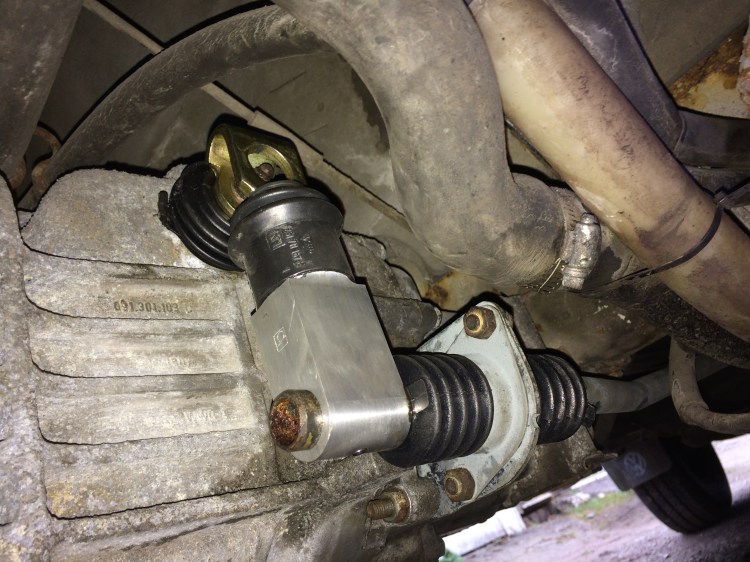
It was at this point I realised something was wrong, there was no enough space for forward movement. It was as if the bellows were too big. Reviewing the pictures I had taken before removal revealed that I had bolted the Flange to the wrong side of the Support Bracket.

Adjustments
With everything in place there is one bolt on the Gear Linkage Joint which dictates the relationship between the front linkage (including the Gear Lever) and the rear linkage where it attaches to the gearbox.
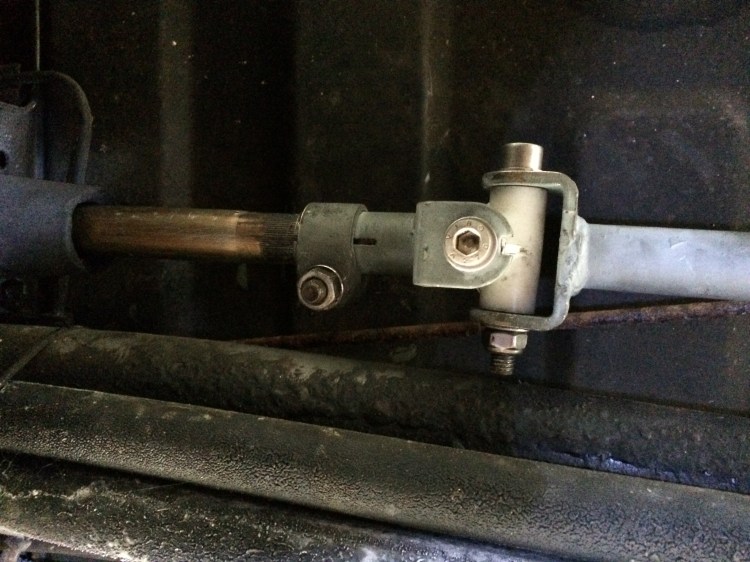
On the front linkage rod you will see the splines, there needs to be 8-10mm of these visible for the correct positioning of the gate so you can get across to first/reverse.
By rotating the rods you can line up the gear lever so it sits in the neutral position while the gearbox is in neutral.
I recommend following the directions in the Wiki entry Renovating 5 Speed Change Mechanism – Adjustments to get this right.
Conclusion
It is a time consuming task but very straightforward and well worth the effort. Shifting between gears on Sir Adventure is such a pleasure now, the gears are very easy to find and the distance between them has significantly decreased.

Hi James,
Thanks very much for the really helpful Blog, it has saved a lot of time trying to decipher the Haynes manual! For the 4 speeders amongst us I’ve found a really helpful video on Youtube on how to set up the gear selector which may be of use to others and can be found via this link – https://www.youtube.com/watch?v=U0_Jyn1Yrv8. Keep up the good work!
Thanks,
Phil
LikeLike
Hi Phil, thanks! That’s a really good find!
LikeLike
Hi James
Thanks for posting this, and linking to it on Brickwerks shop page – really helpful to have some kind of guide to follow (also thanks to Phil for the video link!.
I’m thinking of attmepting this myself on my 5-spd- scary thought as I’m not too mechanical, but needs must. How long would you estimate the job to take – assuming everything goes to plan and there are no rusted out bolts etc!
LikeLike
Hi Piers, no problem.
It took me a full day to do, most of the time was working out how to slide the front linkage pole out and put back again. Obviously took a bit longer as I made a mistake at the end so had to redo a bit. Easily done in a weekend at a slow pace and contingency for errors.
This whole blog is my journey from knowing absolutely nothing to attempting things like this!
LikeLike
I just did mine and it look about 2 hours to take apart, 1 hour to source all the parts and then three hours to put back together, although i am slow paced and had lots of tea breaks… !! but it feels good to do it yourself and save some money for the next job !!
LikeLike
Amazing, such a great resource for inquisitve mechanics and billy no clues (like me!) keep up the great work and if you could get round to replacing the handbrake cable that would be great, as i need to do that next, haha!
Thanks again, ive now got reverse again!
LikeLike
Where can I get from which stores around eastrand gauteng Provence
LikeLike