
There was no way the van was going to pass it’s next MOT with some of the rust areas so it was time to treat them accordingly.
For small areas I removed as much flaking rust as possible, wire brushed, coated with Bilt Hamber Hydrate 80, filled and then painted.
The major repair areas were welded by John at VW Welding Services in Salford and cost £700.
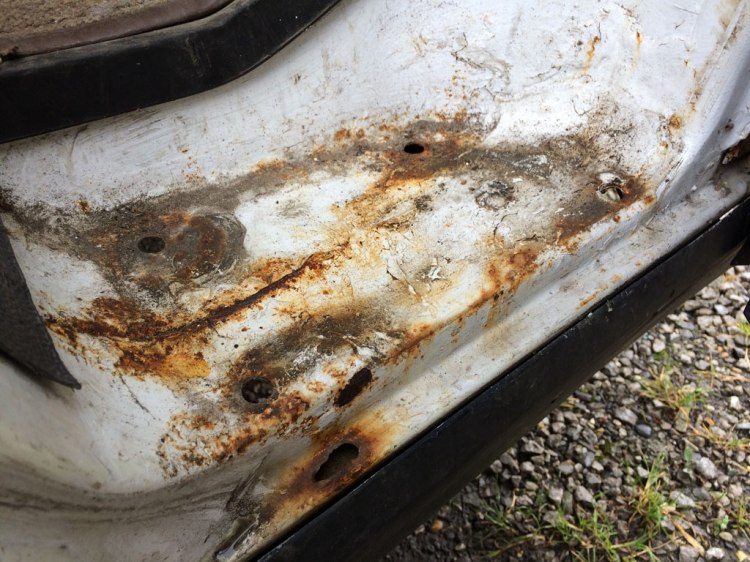
Slider panels
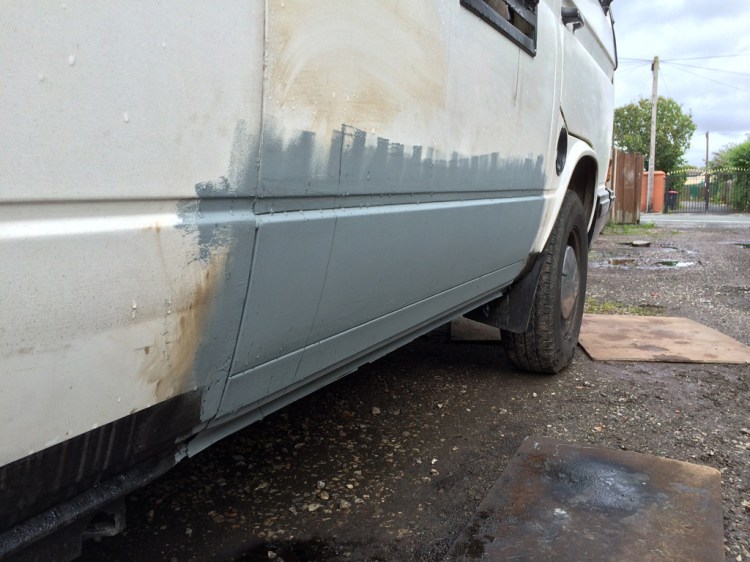
For this area I used Hydrate 80 then aluminium mesh and P38 filler, it was then top coated with Rustoleum CombiColor. The rust streaks made this area look really bad but the holes were minimal.
Offside Slider


Nearside Slider
To remove the sliding door mechanism I watched GoWesty’s excellent Sliding Door Maintenance – Part One and Part Two videos.


Side Panel (offside)
This is the area behind the fridge, to access this panel I needed to first remove the interior units. From the outside it did not look that bad, inside was a completely different story.


Parts of the floor had been completely eaten away by rust.
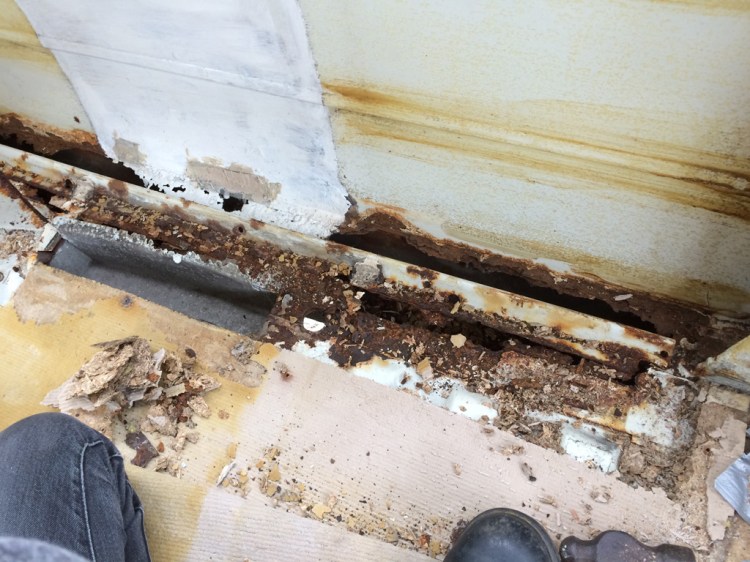
After cleaning away as much rust as possible I took the van to John at VW Welding Services, he completed the work in three days. Alan Schofield provided the new sill and side panel and John fabricated the new floor part.


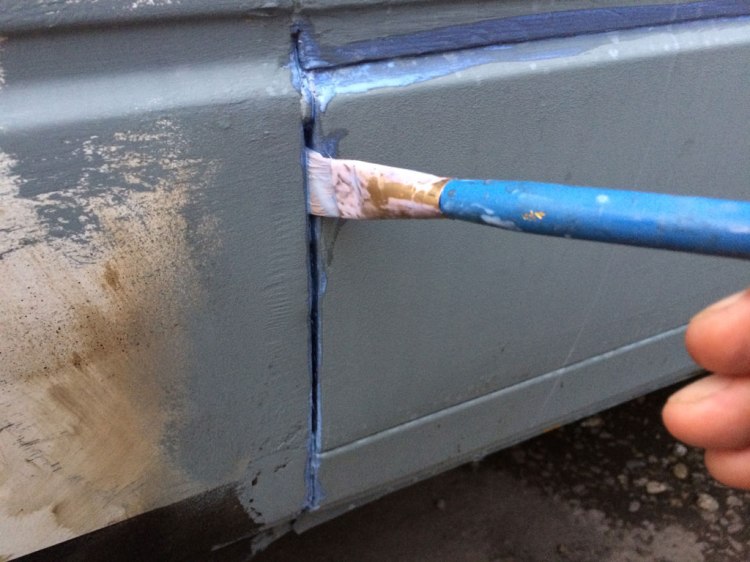
I cleaned the panel thoroughly before coating with Electrox. It is not porous like normal primers so can be left as topcoat until I get round to repainting the whole van.
I brushed Hydrate 80 deep into all the seams to combat any remaining rust then used Tiger Seal to seal the seams.
Rear Wheel Arches
Both wheel arches had a lot of rust. The rockwool insulation originally used by Autosleeper unfortunately holds water so any moisture getting inside sits against the panel and rots it from the inside out. Additionally there are no escape routes so only when it rusts all the way through can the water get out.
Once the two holes in at the top rear of the wheel arches have formed, the water then runs down into the rear platform trays and eats through them as well.


The nearside wheel arch holes were welded over by John.

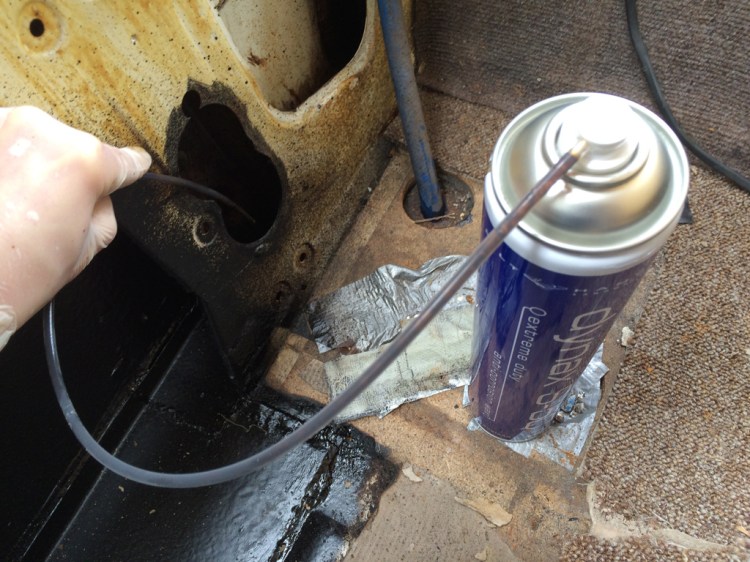
All rust was treated with Hydrate 80:


Once dry I sprayed Dynax S50 anti-corrosion wax into all the cavities:
Platform Trays
As a consequence of water pooling in the wheel arches the platform trays on both sides had eaten through leaving huge holes. These were patched by John and covered in Waxoyl.


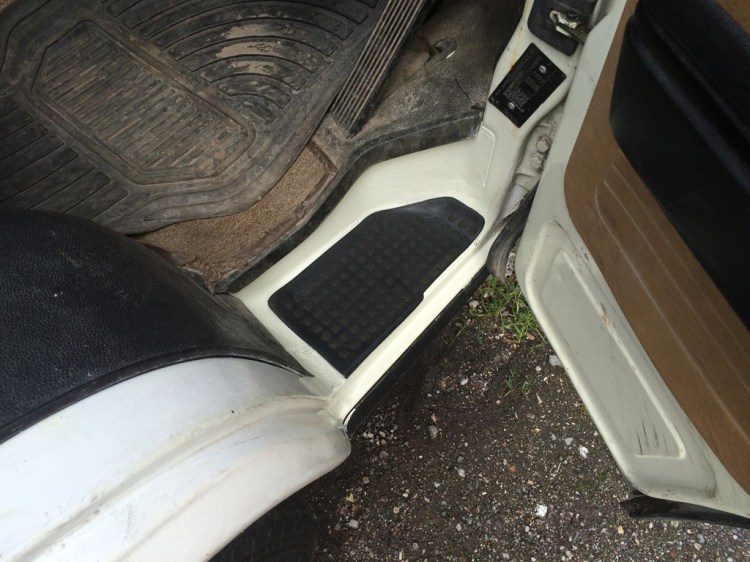
Footwells
The offside footwell looked a bit dodgy so I gave it a good poke. It turned out to be lots of filler hiding a massive hole. As I didn’t have time to get this welded before the MOT I cleaned everything up as best I could, painted with Electrox and filled with aluminium mesh backing.


I then top coated with Rustoleum Combicolor which I had matched to the original L90D paint.
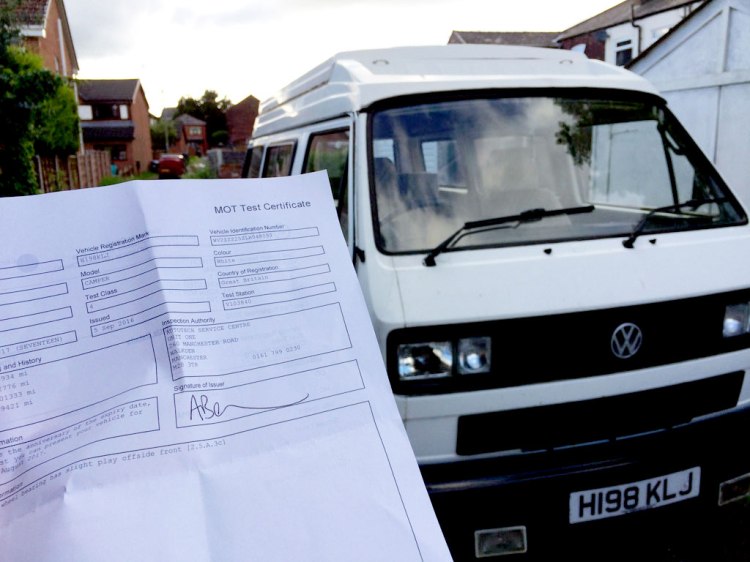
Success!
Sir Adventure passed the MOT. The only advisory was very slight play in the front offside wheel bearing.
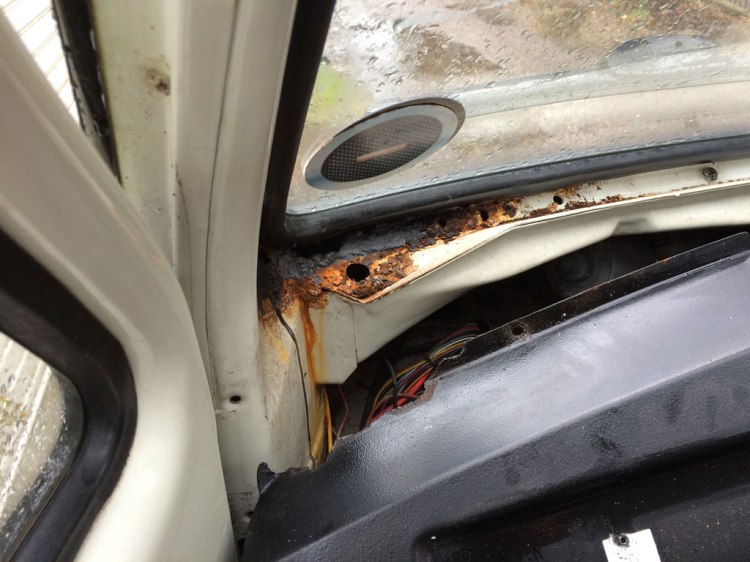
Still to do…
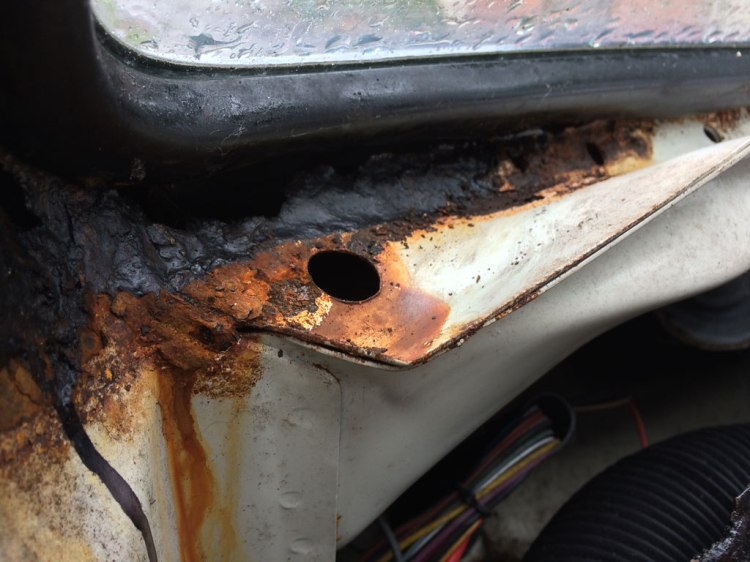
There’s a hole below the nearside windscreen corner which I coated with Hydrate 80 some months back. I moved the dash out slightly to see how far the rust actually goes, it looks horrific but is manageable. I’m going to address this next year.
This is likely the cause of the rotten footwells so i’m going to have to keep an eye on any standing water in the meantime.
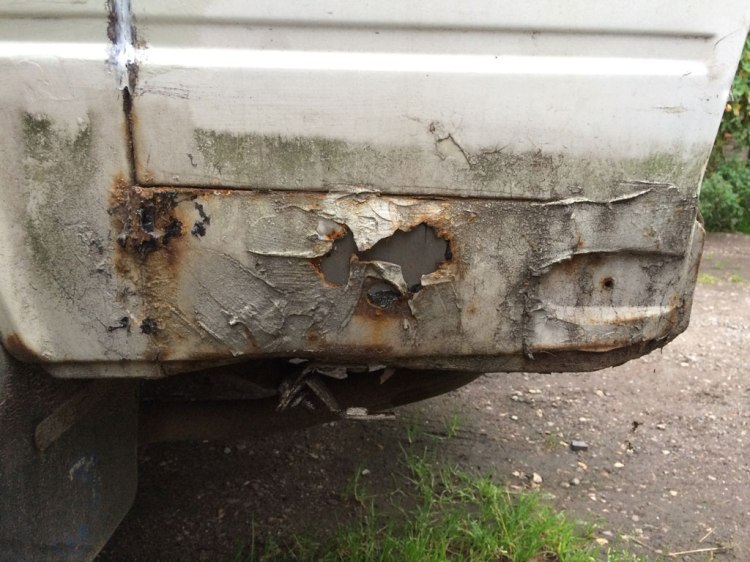
I also took the rear bumper off which unearthed this monstrosity.

Hi L had the Exact same problems on my 84/T25 . Keep the faith it’s worth it tks Liam..
LikeLike
I haven’t quite decided whether this blog is a horror show I should never look at or a rational view on the stuff going on in my newly bought T25… I have the exact same issues near enough, rusty on the drivers side sill where the fridge is and a hole in the nearside wheel arch. Finally summoned up the courage to remove some of the interior this evening and, fingers crossed, it’s not quite as awful as your pictures, that said I’ve got another unit to remove to fully expose the floor so god knows whats under the last 35cm of flooring. Regardless, though, great blog and hugely useful, thank you for documenting your repairs. Oh I also have an issue with the auto choke/carb which as a total novice mechanic fills me with even more terror !
LikeLike
Haha! I know exactly how you feel. After doing the trailing arms I finally feel at a point where I know all the hidden issues. It’s definitely better to be in a position where I can keep an eye on any of the problem areas. If i’d read this blog three years ago I would have been overwhelmed. It’s certainly been a steep learning curve but i’ve done things I never thought I could do. I’ve really enjoyed every part despite the stress and worry!
LikeLike
Oh, and the carb issues – watch my Pierburg videos and documentation, it’s not that complicated once you understand how it all works.
LikeLike
Thanks James, I’ll do that. Just a quick question in the floor rust. It looks like you had the sort if sticking up bit removed from the floor when you have it rewelded… sure it ya a proper name but the inch high lengthways piece running in front of the sill on the floor. That’s going to have to go in mine as well due to rust but when I removed the units some of them were bolted to it..did you have a similar issue when you put your units back in ? Thanks
LikeLike
It hasn’t caused any issues not having it. The Autosleeper units bolt straight down into the floor or horizontally into the wall. As long as your units are secured at other points I imagine you’d be OK.
LikeLike
Thanks James, I’m rebuilding al the units anyway as they’re shot to bits so I shall improv some different points I guess.
LikeLike
Laughing and cringing while reading this blog and your post.. I am in exactly the same position after just buying my first van.. Did some inspecting pre-purchase, including with a mechanic, but have discovered more since getting her home and poking about.. including poking a small hole through one of the wheel arches :0 Seems like a steep learning curve and possibly expensive time ahead!
LikeLike
Richard – Laughing and cringing while reading this blog and your post.. I am in exactly the same position after just buying my first van.. Did some inspecting pre-purchase, including with a mechanic, but have discovered more since getting her home and poking about.. including poking a small hole through one of the wheel arches :0 Seems like a steep learning curve and possibly expensive time ahead!
LikeLike
How are the rust areas that you havfe treated with Hydrate 80?
LikeLike
Look forward to the windscreen surround repair mate. And the new seal fitting. And use Captain Tollys to find and seal it.
LikeLike